Users, roles and passwords in TallyBook: securing your company data
When a staff member, a part-time accountant or a family member helps with the books, you may not want everyone to see the Balance Sheet, alter old vouchers or change company settings. TallyBook includes TallyPrime-style security: named users, roles that control what each user can do, a password policy and an edit log. This guide walks through each screen and is clear about what the current preview does and does not enforce.
The Company menu (Alt+K)
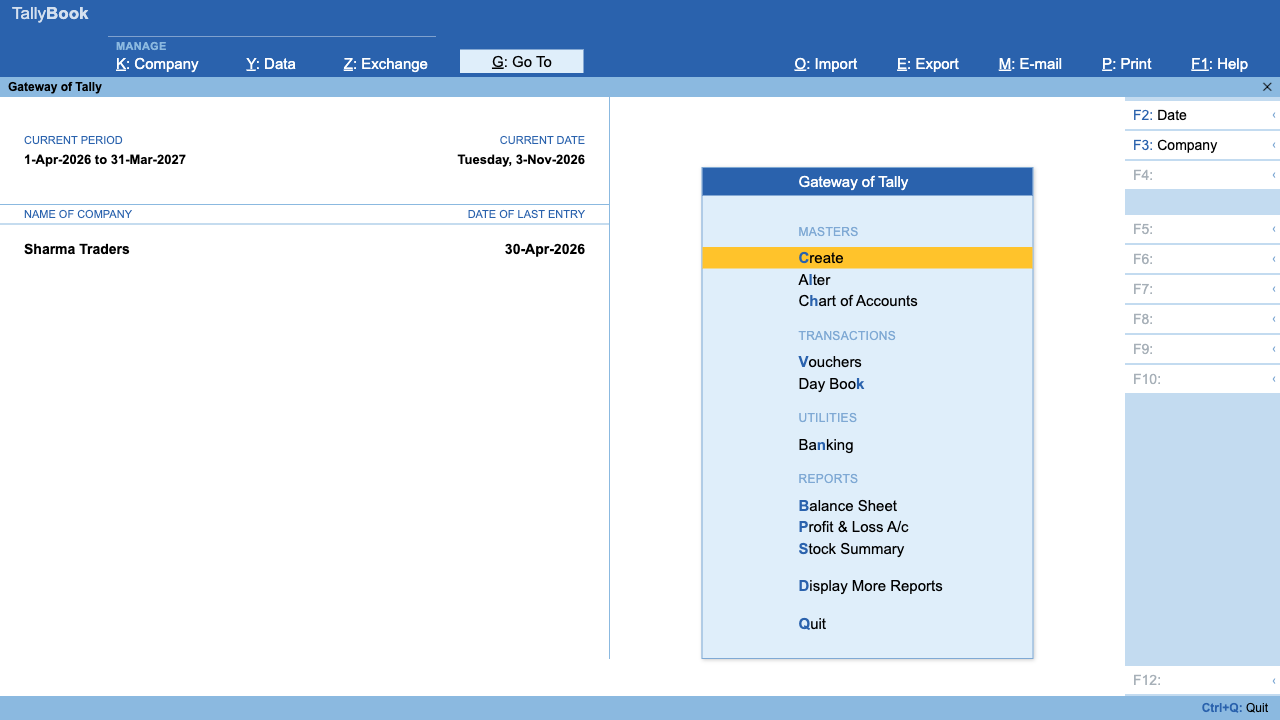
Press Alt+K, or click K: Company in the top bar. The menu has three sections:
| Section | Option (key) | What it does |
|---|---|---|
| Company | Alter (A) | Change the company name, address, state, PAN and contact details |
| Security | Users and Passwords (U) | Create, alter and remove users |
| User Roles (R) | Adjust what each role, or security level, may do | |
| Password Policy (P) | Password length, strength and expiry rules | |
| Security Control (S) | A read-only table of every facility and each role's access | |
| Company Security (C) | Switch security on or off and set, change or remove the TallyVault password | |
| User | Change User (H) | Log out and log in as someone else |
| Change Password (W) | Change your own password |
Step-by-step setup
- Press Alt+K › Company Security. Set Use Security Control to Yes, enter the Name of Administrator, a Password and Repeat Password, and press Ctrl+A.
- Open Password Policy if you want rules: set Activate password policy to Yes, then minimum length, optional counts of letters, numbers and special characters, expiry days, and whether old passwords may be reused.
- Open Users and Passwords. Press Alt+C to create a user: choose the User Role, type the Username and Password, and accept.
- Review Security Control to confirm what each role can reach.
- Close and reopen the company. TallyBook now asks for a username and password before showing the Gateway.
To change a user later, highlight them in Users and Passwords and press Enter; leave the password blank to keep the current one. F12 on the user form shows two more switches: Status (Active) and Password Policy applicable. Alt+D removes a user.
Roles and what they allow
Every user has a role. TallyBook ships with the role names TallyPrime users know. The ones that matter for a desktop-only setup are Owner, Data Entry and the read-only Auditor role (named Tally.NET Auditor for compatibility):
In User Roles, press Enter on a role to adjust it: base it on another role's facilities, then list facilities to disallow or allow, with the access level for each. When a user tries something their role does not permit, TallyBook shows “You do not have access to this action” or “You do not have access to this report”.
Password Policy
| Setting | Effect |
|---|---|
| Minimum password length | Shorter passwords are refused |
| Advanced parameters | Minimum number of letters, numbers and special characters |
| Password expires after (days) | Users must change it after this many days; 0 disables expiry |
| Restrict the use of old passwords | “This password was used earlier” is shown for a reused password |
| Change password on first login | New users set their own password the first time |
| Allow users to change password | Whether non-owners may use Change Password |
Passwords are never stored as plain text. TallyBook keeps only a salted, slow hash (PBKDF2-SHA256), so even someone who copies the data file cannot read them.
TallyVault password
In Company Security, the TallyVault section asks for a password and a confirmation. Since version 0.1.5, setting it encrypts the company's data file on disk, and backups of that company are encrypted too. TallyBook asks for the TallyVault password every time the company is opened, before the user login. You can set, change or remove it in the same place (Alt+F3 Company Info also has Change TallyVault). Each company has its own TallyVault, so one password does not open every company.
Edit log
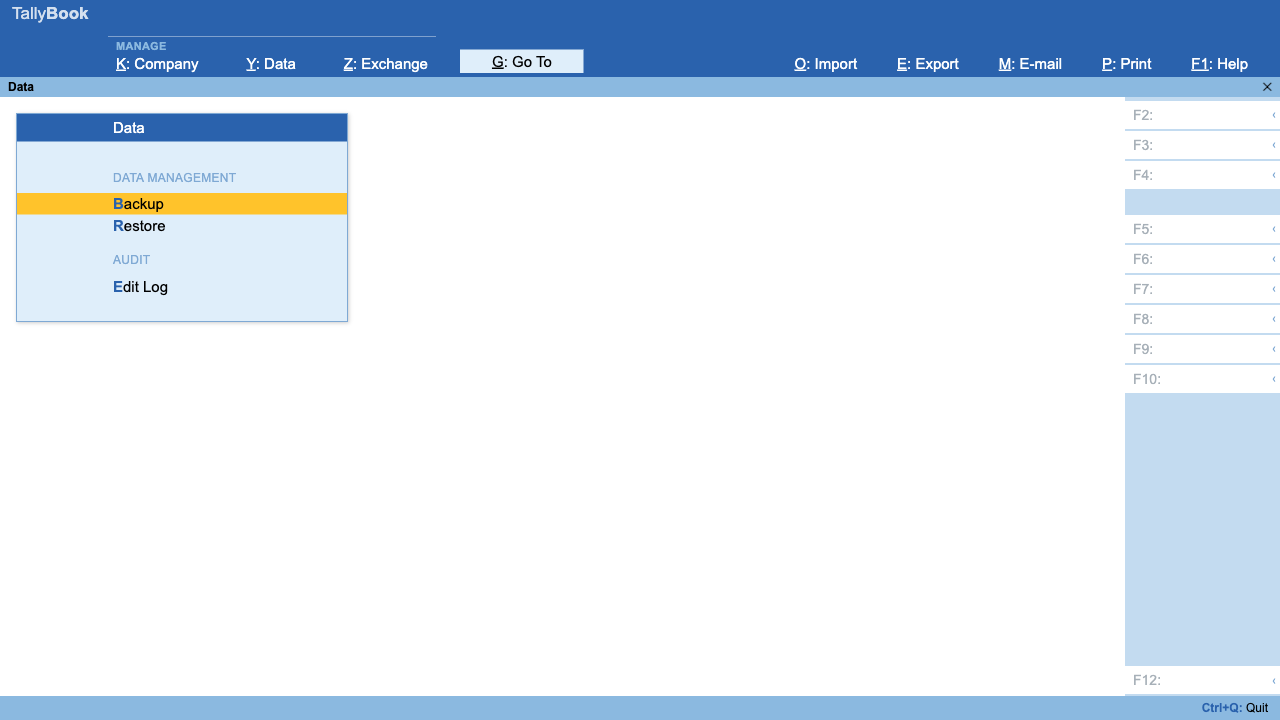
Press Alt+Y for the Data menu and choose Edit Log (E). It lists, latest first, every create, alter, delete and cancel of vouchers, ledgers and groups, with the date and time, the type, the voucher number or master name, and the user who did it. Press Ctrl+F to filter, for example by a username. The log shows that a change happened and who made it; it does not keep the old and new values side by side.
Keep regular backups whatever your security settings: see backup, restore and data safety. For the full list of keys, read TallyBook keyboard shortcuts, and for how TallyBook compares on multi-user work, TallyPrime vs TallyBook.
Frequently asked questions
Can two people work in TallyBook at the same time?
Not on the same company over a network. TallyBook is a single-user desktop app. Users and roles let several people take turns on the same computer, each with their own login and rights.
Does the TallyVault password encrypt my data file?
Yes, from version 0.1.5. With a TallyVault password set, the company data file and its backups are encrypted, and the company cannot be opened without the password. A lost TallyVault password cannot be recovered, so store it safely.
What happens if I forget the administrator password?
There is no recovery in the app. Keep the administrator password somewhere safe, and keep a recent backup made from Data (Alt+Y) › Backup.
What does the Data Entry role allow?
By default, creating and altering vouchers and viewing some reports such as the Day Book. It cannot create ledgers or open the Balance Sheet, P&L or Trial Balance, and cannot delete vouchers.
TallyBook is not affiliated with Tally Solutions Pvt. Ltd. TallyPrime is a trademark of its owner.